Factorio
This guide walks you through the process of deploying, managing, and connecting to a Factorio Headless Server using FluxCloud. Whether you're starting a fresh megabase or continuing an existing save, this page provides step-by-step instructions and key details for a seamless experience.
The FluxCloud Factorio template is built on the official factoriotools/factorio image, which is maintained by the Factorio team and kept in sync with the latest stable releases.
For more information on Factorio visit: https://factorio.com. For the server image documentation, see: https://hub.docker.com/r/factoriotools/factorio and https://github.com/factoriotools/factorio-docker.
How To Install a Factorio Server
Steps
- Access FluxCloud
- Visit cloud.runonflux.com and sign in or create an account.
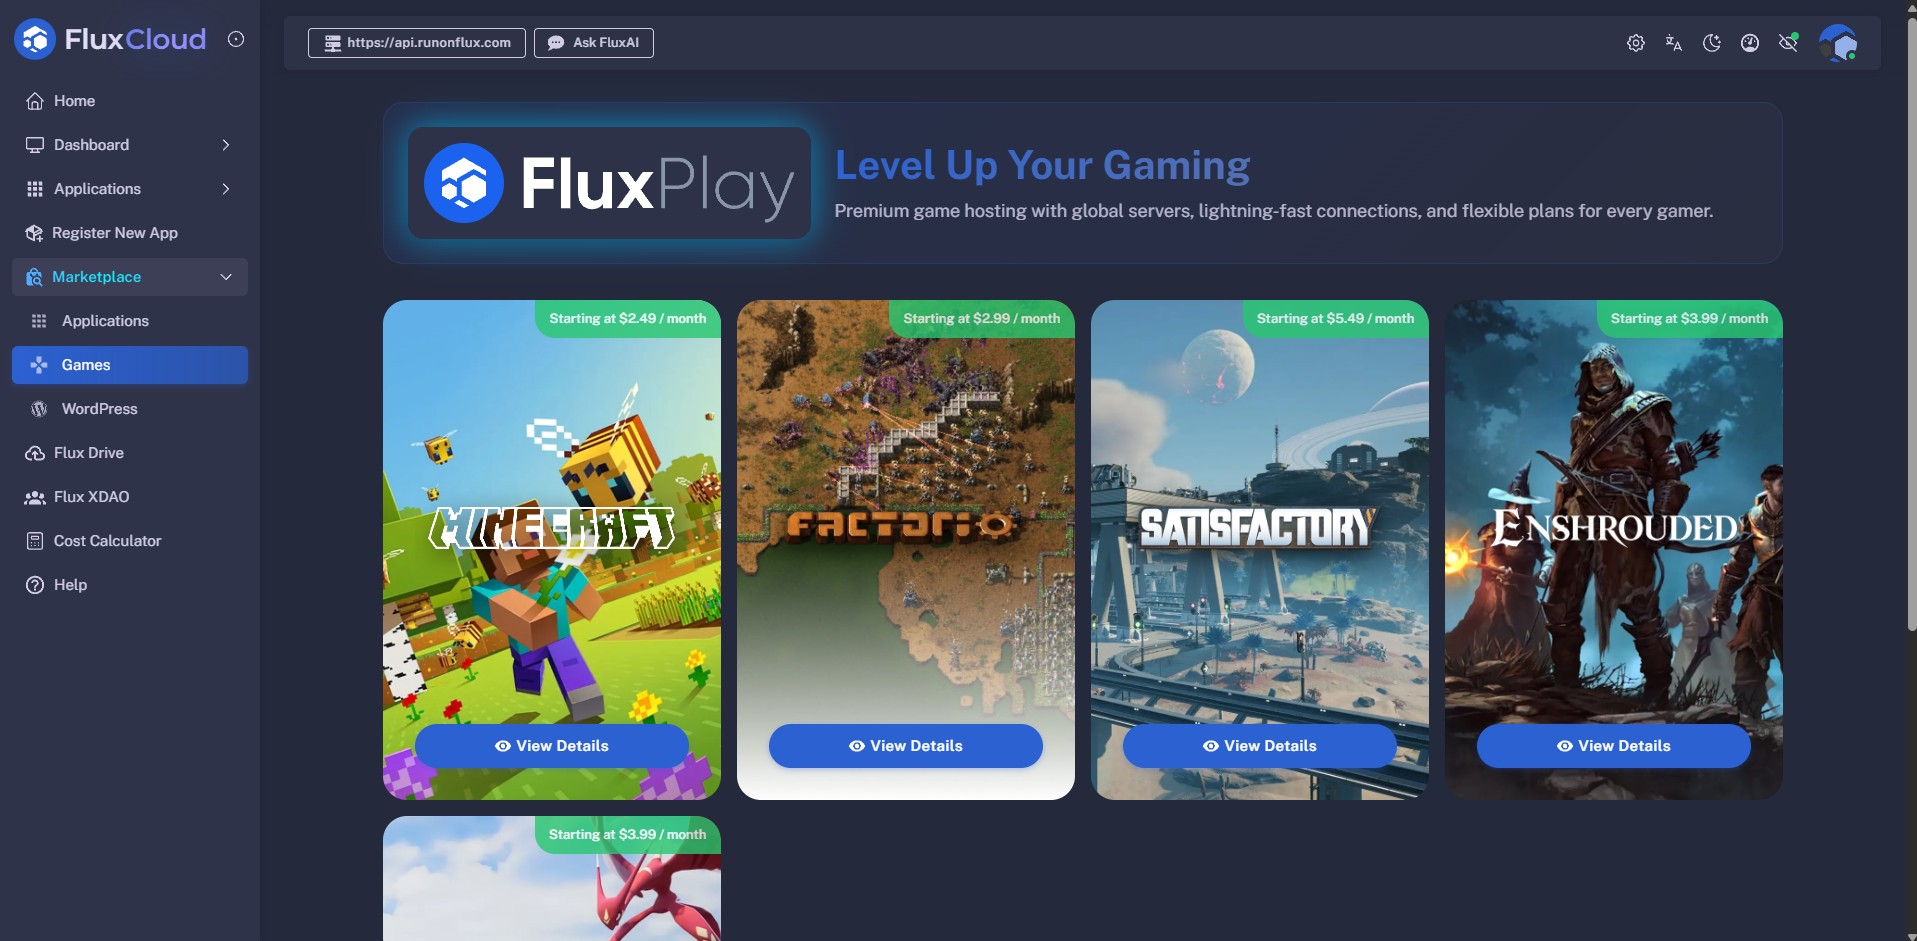
- Find the Factorio Server
- Navigate to the Marketplace → Games tab, then locate the Factorio tile and click View Details.
- Select Server Configuration
- Choose your preferred configuration, and click Install Now to continue.
- Choose Subscription
- Select your desired subscription duration.
- Agree to the Terms of Use and Privacy Policy, and click the blue Continue arrow at the bottom.
- Deployment Location
- Configure whether you want your Factorio server to deploy in specific geographic regions:
- Global (Recommended): No geographic restrictions for best availability.
- Custom: Restrict by continent or country.
- Click the blue Continue arrow to proceed.
- Email Notifications
- Optionally enter your email address to receive notifications about your game server, including:
- When your application finishes launching.
- When the primary server changes.
- When your app expiration date is approaching.
- Launching the Application
- Your application must be signed and registered on the Flux network.
- Click Sign and Register.
- Sign the message using the pop-up.
- If you logged in via Google or Email, this step is completed automatically.
- Complete Payment
- Choose your payment method:
- Fiat: Stripe or PayPal
- Crypto: FLUX coin (5% discount)
- Payment is monitored automatically. Once confirmed, your application will be deployed, and a blue Manage button will appear—directing you to your application's management panel.
⚠️ Important: FLUX Payments
FLUX payments are only accepted via the FLUX Mainnet, not through any of our EVM tokens.
We ALSO strongly recommend not sending FLUX payments from exchanges, as:
- Transactions or withdrawals may not complete within the required 30-minute window.
- Many exchanges do not support adding a MEMO, which is required for proper payment processing.
First Launch — Allow Time for Map Generation
When your Factorio server starts for the very first time, it will download the dedicated server binaries and generate a fresh save before accepting connections. This is normal and only happens on the first boot.
- Expect the initial setup to take a few minutes depending on node performance.
- During this time the server will not accept player connections.
- You can follow progress from Applications → Management → Logs in FluxCloud. Once you see
Hosting game at IP ADDRin the log, the server is ready. - Subsequent restarts are fast — the binaries and your save are persisted on the volume and reloaded directly.
Finding the IP of Your Game Server
Flux runs on a decentralized network, meaning your application is deployed across three instances.
For game servers, a Primary/Standby setup is used — your game runs on the primary instance, while others are on standby for redundancy.
To find your server's primary IP address:
- Visit cloud.runonflux.com and log in.
- Go to Applications → Management.
- Click the Settings icon on your Factorio Server.
- Open the Instances tab.
- The Primary IP address is shown here.
- You can also view geolocation details for all instances.
To connect to your server from the Factorio client:
-
Launch Factorio and choose Multiplayer from the main menu.
-
Click Connect to address.
-
Enter your Primary IP address followed by the game port — for example:
1.2.3.4:34197 -
Click Connect to join the game.
💡 Tip: Factorio uses UDP port
34197for gameplay traffic. If your in-gamevisibility.publicflag is enabled and you have configured Factorio account credentials, the server will also be listed in the public browser.
Connecting via Domain Instead of IP
Every FluxCloud Marketplace game server is also reachable through its application domain. Flux's load balancer forwards traffic over DNS and is already configured with the correct game port, so you keep a stable address even when the primary instance changes due to failover.
-
Find your app domain under Applications → Management → Information.
-
Use it in the Factorio Connect to address field in place of the IP. The game port is already baked into the domain's DNS routing, so you do not need to append
:34197:your-app-domain.app.runonflux.io
Using the domain means you never have to update the address your group uses when the primary switches.
Adjusting Server Settings
Factorio server settings (server name, description, max players, password, visibility, auto-save cadence) live in a single JSON file on the persistent volume.
-
Open Applications → Management on cloud.runonflux.com, select your Factorio app, click the Settings icon and open the Secure Shell tab.
-
Scroll to the Volume Browser and locate:
/factorio/config/server-settings.json -
Edit the values you want to change (for example
name,description,max_players,game_password,visibility), then save. -
Open the Control tab, select Local, and click Restart Application so the new settings take effect.
⚠️ Important:
server-settings.jsonmust remain valid JSON. Back up the file before editing and revert if the server fails to boot.
Managing Save Files
Your world saves live on the persistent volume at:
/factorio/saves/
Each save is a .zip file. You can:
- Download a backup via the Volume Browser before risky changes or major game updates.
- Upload an existing save from a single-player game (or another server) to continue your adventure — drop the
.zipfile into/factorio/saves/. On the next restart, the server loads the newest save by default; rename or remove older files if you want to pin a specific one. - Roll back by replacing the current save file with a backup and restarting the application from the Control tab.
Installing Mods
Mods are installed into the persistent volume and survive restarts.
-
Browse the official mod portal at mods.factorio.com and download the
.zipfiles for the mods you want. -
In FluxCloud, open Applications → Management, select your Factorio app, click the Settings icon and open the Secure Shell tab.
-
Scroll to the Volume Browser and upload the
.zipfiles to:/factorio/mods/ -
Restart the server from Control → Local → Restart Application so the new mods are loaded.
⚠️ Client mods must match server mods. Every player connecting must install the same mods (and versions) locally. Factorio will block the join if the mod lists do not match.
Frequently Asked Questions
Why can't I connect right after deployment?
The first launch downloads the Factorio dedicated server binaries and generates a save before opening the game port. This usually takes a few minutes. Watch the container logs from Applications → Management → Logs and wait for the Hosting game at IP ADDR message before attempting to connect.
What port does Factorio use?
The Factorio headless server uses UDP port 34197 for gameplay traffic. FluxCloud exposes this port automatically. When connecting by IP you must specify the port (1.2.3.4:34197); when connecting by the app domain the port is resolved by DNS and you do not need to append it.
How do I set a server password?
Edit server-settings.json via the Volume Browser, set "game_password" to the password you want, save, then restart the application. Players will be prompted for the password when joining.
What happens if the primary server goes down?
If your current primary server becomes unavailable or experiences downtime, one of the standby instances automatically takes over as the new primary after a short delay. Your saves, mods, and server settings are preserved on the persistent volume, so the game resumes where you left off once the switch is complete. You can check which instance is currently the primary from your application's management panel under the Instances tab.
💡 Tip: If you connect via the app domain (
your-app-domain.app.runonflux.io, no port suffix) instead of the raw IP, your client will keep reaching the correct primary automatically after a failover.
Can I use my own save file?
Yes. Upload your .zip save to /factorio/saves/ via the Volume Browser, then restart the application from the Control tab. On restart the server loads the newest save — rename or remove older files if you want to pin a specific one.
Can I install mods?
Yes — see the Installing Mods section above. Upload mod .zip files to /factorio/mods/ via the Volume Browser and restart the server. All connecting players must have the same mods (and versions) installed locally.
How can I update my game server to the latest version?
The factoriotools/factorio image pulls the latest stable Factorio headless server build on startup. To update immediately, open Applications → Management, select your Factorio server, go to the Control tab, choose Local, and click Restart Application.
Can I change my server's hardware specifications after deployment?
Yes. At any time — if you feel the hardware specifications no longer reflect your needs — you can adjust them from Applications → Management → Update App Specifications on the Components tab. Your world saves, settings, and data are preserved across the change, and you are billed according to the new specifications.